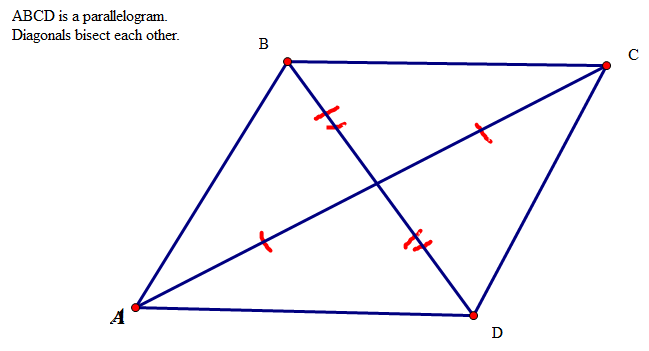
 The columns of information in your Analysis project should use parallel grammatical structures. I’m sure that you all know what the word parallel means. You probably encountered it in a geometry course a long time ago. Remember the parallelogram?
You have probably seen the concept in courses here at Tech. Consider these examples:
- A mechanical engineering major is likely to be aware of parallelism control and parallelism tolerance.
- A building construction major knows that various parts of a building need to be parallel. (Imagine how annoying a staircase would be if the steps weren’t parallel.)
- A computer science or computer engineering major knows all about parallel processing.
- A finance major would be familiar with parallel portfolio optimization, parallel loans, and parallel markets.
- A business major may know about organizational parallelism, including parallel leadership and parallel learning.
In all these examples, parallel generally means that two or more things match in some way. That is essentially what parallelism means in a writing course as well. When you are composing your Analysis table, choose parallel phrasing for the information in each column. For example, you might start everything in the purpose column with infinitive verbs (verb phrases that start with “to,” such as to explain or to provide).
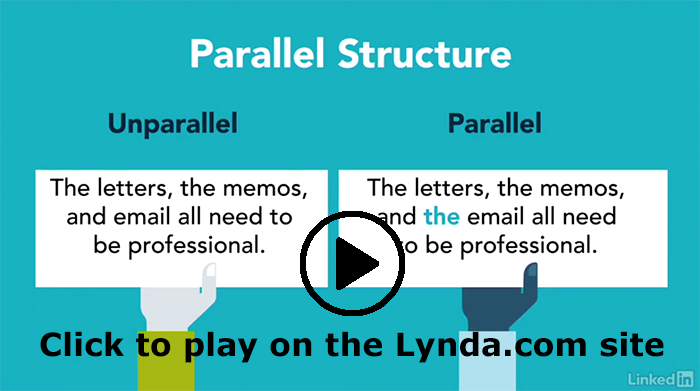
You can find out more about parallelism in the Lynda.com video on Parallel Structures (6m40s). The video begins with details on parallelism within a single sentence. At 4m50s into the video, the video discusses parallelism in bullet lists, outlines, and headings. That section of the video is closest to the kind of parallelism you will use for the columns of your Analysis table.
Lynda.com Login Help
Lynda.com videos are free to Virginia Tech students with your VT.EDU login. Start at the VT.EDU login page to access these resources.
Note: This video has closed captioning, so it does not need a transcript.
Image credit: MRBCRGEO_Parallelogram_diagonal_example by michellebarnhill on Flickr, used under a CC-BY-SA 2.0 license.
Last updated on Saturday, February 3, 2018
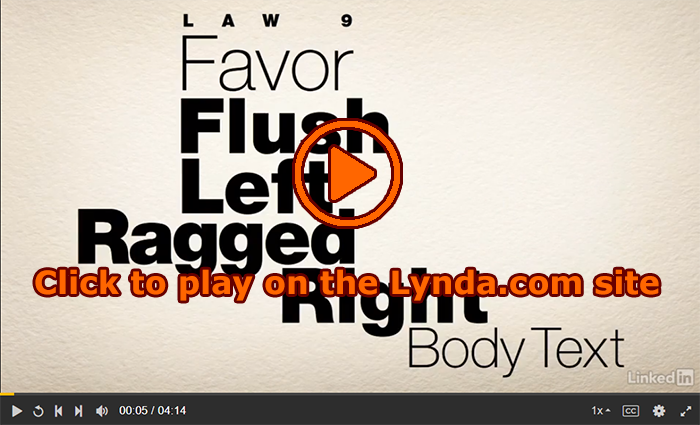
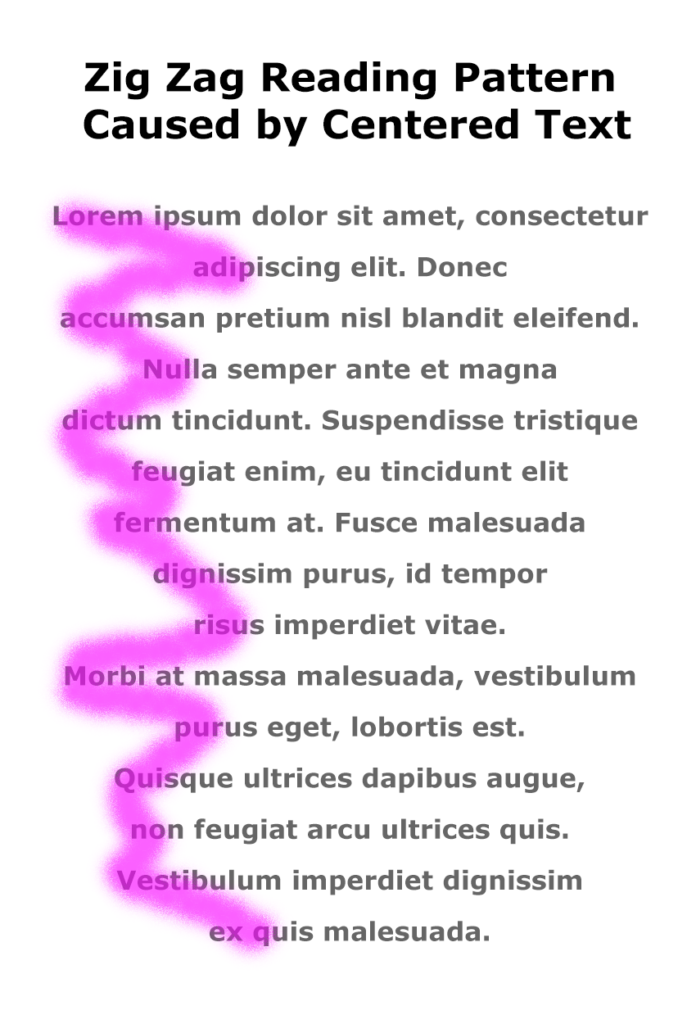 Today’s #TuesdayTutorial focuses on the alignment of the text in your document. Remember the #FridayFact earlier this month that explained the F-shaped reading pattern? That idea comes into play with the tip to avoid centered text alignment in your documents.